
Stepping out of the airport into the crisp air of London, the bustling streets of Istanbul, or the hyper-modern cityscape of Beijing is a moment you will never forget. It is the culmination of months of hard work, IELTS tests, and navigating the painful process of document attestation in Pakistan. You have finally made it.
But as the initial excitement fades and you sit on the bed in your new dormitory, a wave of anxiety often hits. You have no local phone number, no local currency, and you do not know where the nearest supermarket is. The first seven days in a new country can make or break your entire semester. If you are unorganized, you can miss crucial immigration deadlines or fall behind in your university registration.
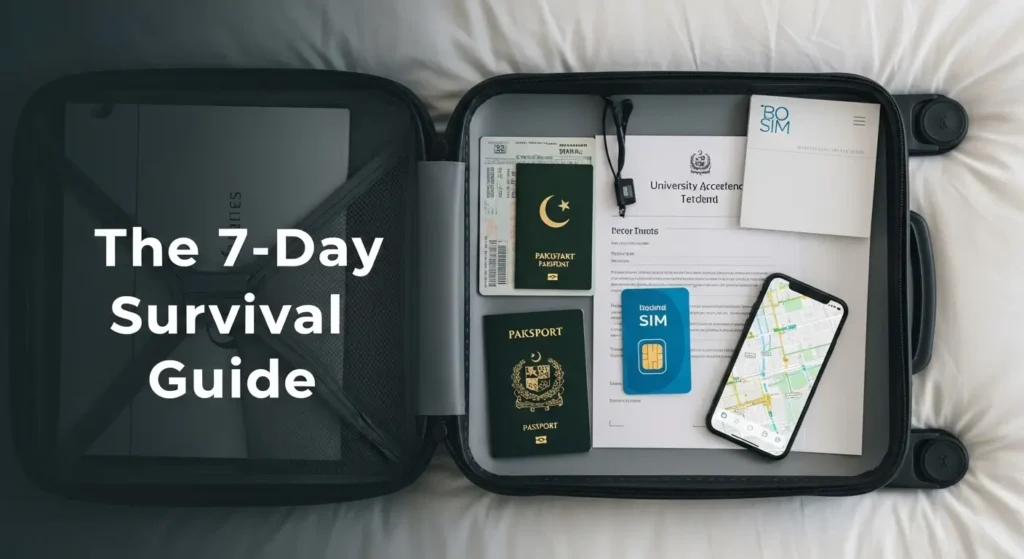
At Luxurious Educational Platform, our job does not end when your visa is approved. We prepare our students for the reality of living independently. To help you transition smoothly from a tourist to a resident, we have created the ultimate 2026 study abroad first week checklist. Follow these seven critical steps to secure your legal status, protect your money, and start your academic journey without a single panic attack.
Step 1: Call Home & Get a Local SIM Card
The very first item on your study abroad first week checklist is connectivity. Your parents are likely glued to their phones in Pakistan, waiting to hear that you landed safely. Do not rely on spotty airport Wi-Fi.
- In the UK/Europe: You can often buy a temporary SIM card (like Lebara, Lycamobile, or giffgaff) right at the airport arrivals terminal. These are great for cheap international calls to Pakistan. Later, you can switch to a long-term student contract.
- In China: You will need your passport to buy a registered SIM card from China Mobile or China Unicom. Without a Chinese phone number, you cannot set up WeChat or Alipay, which are mandatory for survival in China.
- In Turkey: Buy a “Tourist SIM” at the airport (Turkcell or Vodafone) to survive the first week, but remember you will need to register your foreign phone’s IMEI number later if you plan to stay long-term.
Step 2: Secure Your Legal Status (BRP, eVisa, or Ikamet)
Your visa sticker in your passport is usually only valid for 30 to 90 days. You must convert it into your actual residence permit almost immediately.
- The UK (2026 Update): Historically, students collected a physical Biometric Residence Permit (BRP) from the Post Office. However, the UK is fully transitioning to digital immigration. You must follow the official UK Government guidelines to set up your UKVI account and activate your “eVisa” via the smartphone app. Do this within your first 3 days!
- Turkey & North Cyprus: You must begin your online application for your Student Residence Permit (Ikamet) immediately after university registration.
Step 3: Register with the Police (If Required)
Do not skip this step! Failing to register your address with local authorities can lead to massive fines or even deportation.
- In China: This is the strictest rule. You must register at the local police station within 24 hours of arriving. If you live in a campus dorm, the university handles this. If you rent a private apartment, you and your landlord must go to the police station together.
- In the UK: The requirement for international students to register with the police (OVRO) was officially scrapped a few years ago, which is great news! However, always double-check your visa grant letter just in case specific conditions apply to your profile.
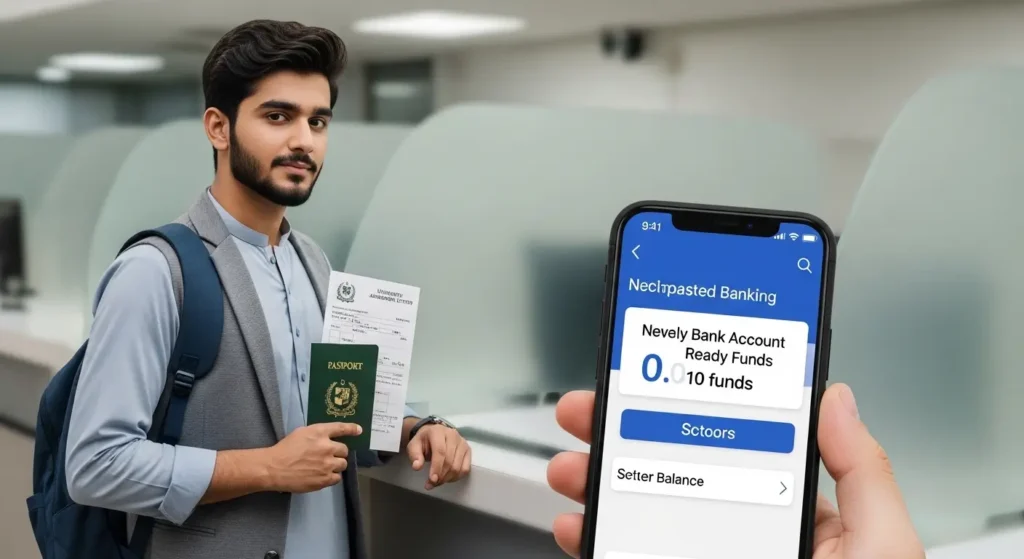
Step 4: Open a Local Bank Account
You cannot survive on the cash you brought from Pakistan forever, and using your Pakistani debit card abroad will incur heavy foreign transaction fees.
- The Challenge: Traditional high-street banks (like Barclays or HSBC in the UK) require a “Proof of Address” letter from your university, which can take weeks to get.
- The 2026 Solution: Digital banks are your best friend. In the UK and Europe, download apps like Monzo or Revolut. You can open a fully functional bank account from your dormitory bed in 10 minutes using just your passport and your BRP/eVisa.
- In China: Once you have your university ID and Chinese phone number, go to ICBC or Bank of China. You must link this bank account to WeChat Pay and Alipay, as cash is almost entirely obsolete in China.
Step 5: Complete University Enrollment & Get Your Student ID
Your Student ID card is your golden ticket. It is not just for entering the library; it is your ultimate discount card.
- The Process: Head to your university’s international office. Take your original educational documents, your passport, and your visa. They will scan these, take your photograph, and hand you your ID.
- The Perks: Use this ID to apply for student transport cards (like the 18+ Student Oyster photocard in London) which will save you 30% on daily travel. You can also use it to get discounts at cinemas, clothing stores, and software subscriptions.
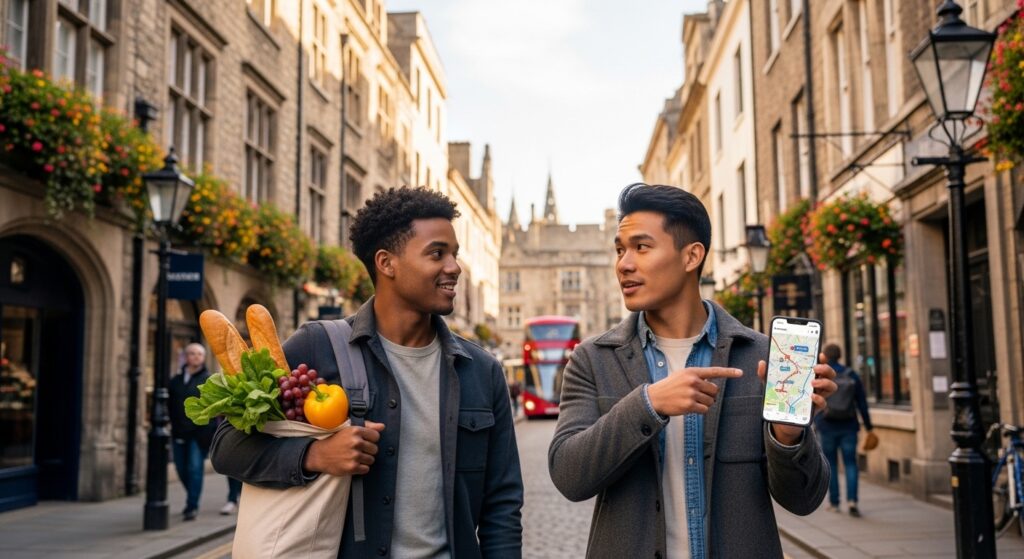
Step 6: Scout Your Area & Buy Groceries
Now that the legal paperwork is out of the way, you need to eat. Your study abroad first week checklist must include mapping out your local neighborhood.
- Locate the nearest budget supermarket (Aldi, Lidl, or Asda in the UK; BIM or A101 in Turkey). Do not do your daily shopping at expensive convenience stores.
- Find the closest pharmacy and the quickest bus route to your university campus.
- If you are worried about dietary restrictions, immediately reference our previous post: The “Halal” Guide: Finding Halal Food and Mosques Abroad to locate your nearest certified butcher and community prayer space.
Step 7: Register with a Doctor (Healthcare)
Do not wait until you are sick with a high fever in December to figure out how the medical system works.
- In the UK: You paid the Immigration Health Surcharge (IHS) during your visa application, which gives you free access to the National Health Service (NHS). During your first week, find a local General Practitioner (GP) surgery near your house and register as a patient.
- In China and Europe: Learn where the university campus hospital is located and ensure your mandatory student health insurance is fully activated. Keep your insurance card in your wallet at all times.
The Final Word: Take a Breath
The first week is exhausting. You will be jet-lagged, homesick, and overwhelmed by the amount of walking and paperwork. That is completely normal.
By following this study abroad first week checklist, you are taking control of your environment. Treat it like a game: check off one item each day, and by the end of the week, you will feel like a true local.
At Luxurious Educational Platform, we conduct extensive Pre-Departure Briefings for all our successful visa holders. We ensure you have your accommodation booked, your airport pickup arranged, and this exact checklist printed in your hand before you board the plane.
Your success abroad is our success. Let’s make that first week count.